
TVB Co-Simulation
Multiscale: TVB, NEST, ANNarchy, NetPyNE , Elephant, PySpike
Authors: D. Perdikis, A. Blickensdörfer, V. Bragin, L. Domide, J. Mersmann, M. Schirner, P. Ritter
For more details on TVB see:
- TVB Dedicated Wiki https://wiki.ebrains.eu/bin/view/Collabs/the-virtual-brain/
- TVB in HBP User Story https://wiki.ebrains.eu/bin/view/Collabs/user-story-tvb/
Running TVB-MULTISCALE at EBRAINS JupyterLab
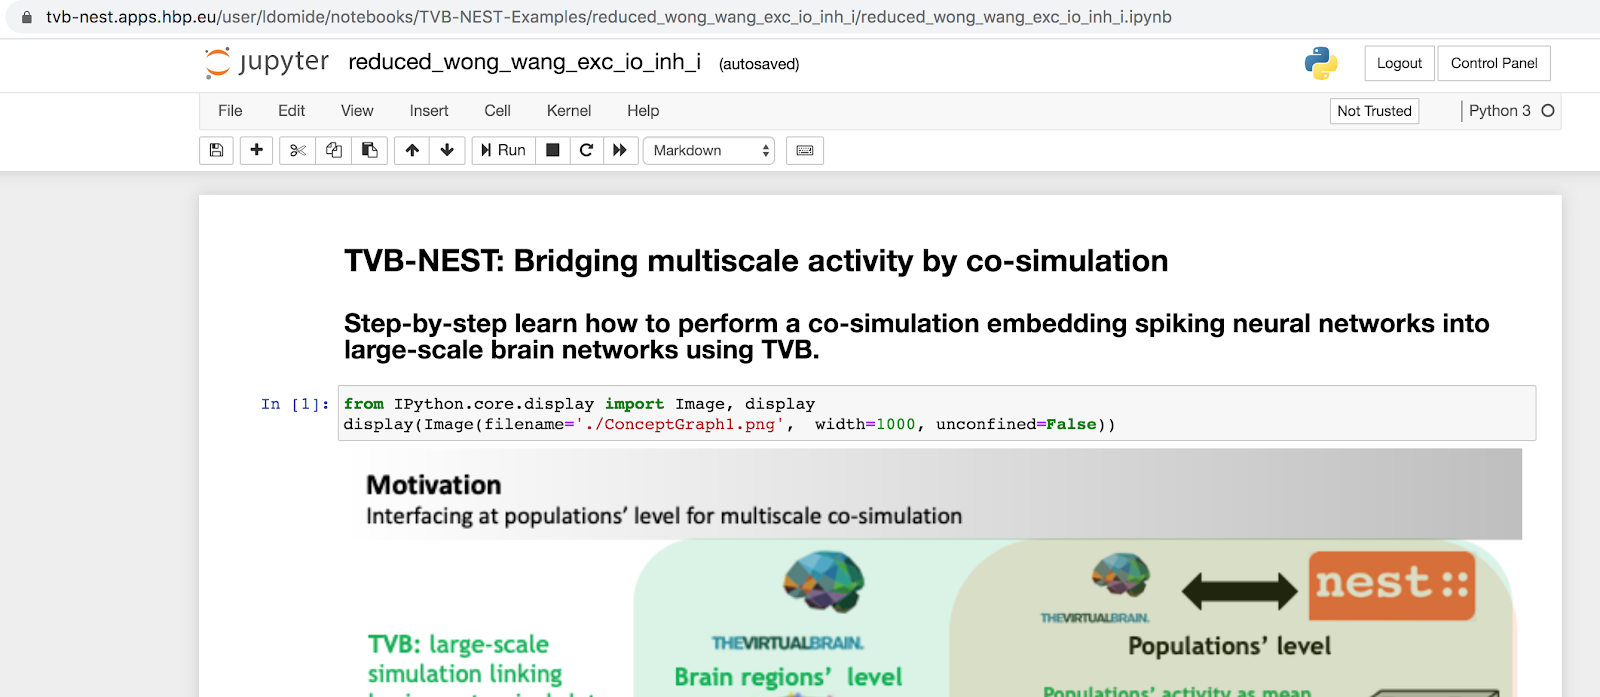
TVB-multiscale is made available at EBRAINS JupyterLab.
All the user has to do is login with their EBRAINS credentials, and start a Python console or a Jupyter notebook, TVB-multiscale being available for importing (e.g., via "import tvb_multiscale").
All necessary TVB-multiscale dependencies (NEST, ANNarchy, NetPyNE (NEURON), Elephant, Pyspike) are also installed and available.
We suggest the users to upload documented notebooks and/or examples' scripts and notebooks from TVB-multiscale Github repository and run them there.
Alternatively, users can sparse checkout the docs and examples folders of TVB-multiscale Github repo, via the following sequence of commands in a terminal or in Jupyter notebook's cells (for notebooks you need to use "!" before each command!):
1. Get into the user's My Libraries folder:
cd /mnt/user/drive/My Libraries
2. Create a folder, e.g., "tvb-multiscale-examples"
mkdir tvb-multiscale-examples
3. Create an empty git repository:
git init

3. Add tvb-multiscale remote:
git remote add -f origin
This fetches all objects but doesn't check them out.
4. Allow for sparse checkout in git config:
git config core.sparseCheckout true
5. Add the docs and examples folders to the ones to be checked out:
echo "docs" >> .git/info/sparse-checkout

echo "examples" >> .git/info/sparse-checkout
6. Finally, pull the master from the remote:
git pull origin master
which will download the specified folders.
All these steps can of course be made from any user initiated fork of the TVB-multiscale repository.
Last but not least, users will also have to modify the attribute config.DEFAULT_CONNECTIVITY_ZIP of the base configuration class Config in all cases of examples and notebooks, to be able to load a default TVB connectivity for the simulations to run. For instance, in the case of the above folder structure after sparse checkout, and for the example of the documented TVB-NEST_WilsonCowan.ipynb notebook, the correct path would be:
config.DEFAULT_CONNECTIVITY_ZIP = "/mnt/user/drive/My Libraries/tvb-multiscale-examples/examples/data/tvb_data/berlinSubjects/QL_20120814/QL_20120814_Connectivity.zip"
Use our Jupyter Hub setup online (DEPRECATED)
TVB-multiscale app is deprecated and will stop being available after the end of 2023!
We have setup a Jupyter Hub service with tvb-multiscale as backed already prepared. You will only need an HBP account for accessing this: https://tvb-multiscale.apps.hbp.eu/
This JupyterHub installation works smoothly with HBP Collab user credentials (login only once at HBP and get access here too). We use a custom Docker Hub tvb-multiscale image as a backend, and thus a ready to use environment is available immediately, without the need of any local installation or download. This should be the ideal env for demos, presentations or even workshops with tvb-multiscale.

Currently, the users can access 2 folders: TVB-*-Examples and Contributed-Notebooks.
The notebooks under TVB-*-Examples are public, shared by everyone accessing the instance. Periodically, we will clean all changes under TVB-*-Examples folder (by redeploying the pod image), and show the original example notebooks submitted on our Github repo. If users intend to contribute here, they are encouraged to submit changes through Pull Requests (https://github.com/the-virtual-brain/tvb-multiscale)
Folder Contributed-Notebooks is not shared. Here, users can experiment with their own private examples. This folder is persisted on restarts in the user HBP Collab personal space. Thus, users will be able to access their work even after a redeploy. (e.g. during a workshop every participant could have in here his own exercise solution)
Running TVB-MULTISCALE locally
See more on Github https://github.com/the-virtual-brain/tvb-multiscale .
Documented notebooks and other examples will be ok to download and try yourself locally, after you have also prepared and launched locally a Docker env: https://hub.docker.com/r/thevirtualbrain/tvb-multiscale
This is the path recommended for people working closely with tvb-multiscale. They are able to download it in their local work env and code freely and fast with it.
Running TVB-MULTISCALE jobs on CSCS infrastructure from HBP collab
The CSCS and HBP Collab deployment of tvb-multiscale is a good example to show how tvb-multiscale can run with an HPC backend. This will be efficient when the simulation jobs are very large. From our experience, with small jobs, the stage-in/out time is considerable, and then the user might be better with just a local run. Also, this deployment requires that the user have an active CSCS personal account. More details on how to use this deployment can be found in this movie: https://drive.google.com/open?id=1osF263FK_NjhZcBJfpSy-F7qkbYs3Q-E
- Create a collab space of your own
- Clone and run in your HBP Collab Hub (https://lab.ebrains.eu/) the notebooks from here: https://drive.ebrains.eu/d/245e6c13082f45bcacfa/
- test_tvb-nest_installation.ipynb Run the cosimulate_tvb_nest.sh script on the CSCS Daint supercomputer. In this example, basically we are running the installation_test.py file which is in the docker folder.
- run_custom_cosimulation.ipynb For this example we are using the cosimulate_with_staging.sh script in order to pull the tvb-multiscale docker image and we are using a custom simulation script (from Github page) which will be uploaded in the staging in phase
- run_custom_cosimulation_from_notebook.ipynb This example is running the same simulation as the example above but instead of using an external file with the simulation code we will build a simulation file from a few notebook cells and we will pass this file to the CSCS server.
Few technical details about what we do in these notebooks:
- Prepare UNICORE client api.
PYUNICORE client library is available on PYPI. In order to use it you have to install it using:
pip install pyunicore
Next step is to configure client registry and what supercomputer to use
tr = unicore_client.Transport(oauth.get_token())
r = unicore_client.Registry(tr, unicore_client._HBP_REGISTRY_URL)
# use "DAINT-CSCS" change if another supercomputer is prepared for usage
client = r.site('DAINT-CSCS')
- Prepare job submission
In this step we have to prepare a JSON object which will be used in the job submission process.
# What job will execute (command/executable)
my_job['Executable'] = 'job.sh'
# To import files from remote sites to the job’s working directory
my_job['Imports'] = [{
"From": "https://raw.githubusercontent.com/the-virtual-brain/tvb-multiscale/update-collab-examples/docker/cosimulate_tvb_nest.sh",
"To" : job.sh
}]
# Specify the resources to request on the remote system
my_job['Resources'] = {
"CPUs": "1"}
- Actual job submission
In order to submit a job we have to use the JSON built in the previous step and also if we have some local files, we have to give their paths as a list of strings (inputs argument) so the UNICORE library will upload them in the job's working directory in the staging in phase, before launching the job.
job = site_client.new_job(job_description=my_job, inputs=['/path1', '/path2'])
job.properties
- Wait until job is completed and check the results
Wait until the job is completed using the following command
# TRUE or FALSE
job.is_running()
Check job's working directory for the output files/directories using
wd = job.working_dir
wd.listdir()
From working job you can preview files content and download files
# Read 'stdout' file
out = wd.stat("stdout")
f = out.raw()
all_lines = f.read().splitlines()
all_lines[-20:]
# Download 'outputs/res/results.npy' file
wd.stat("outputs/res/results.npy").download("results.npy")